I really do not need any more socks, but I do need a background knitting project for meetings etc. Gloves are almost like socks, right? And I could do with a pair of basic, everyday knitted gloves. Something less fancy than the leather gloves I wear to town – more in style with a worn shell jacket than a fitted wool coat.

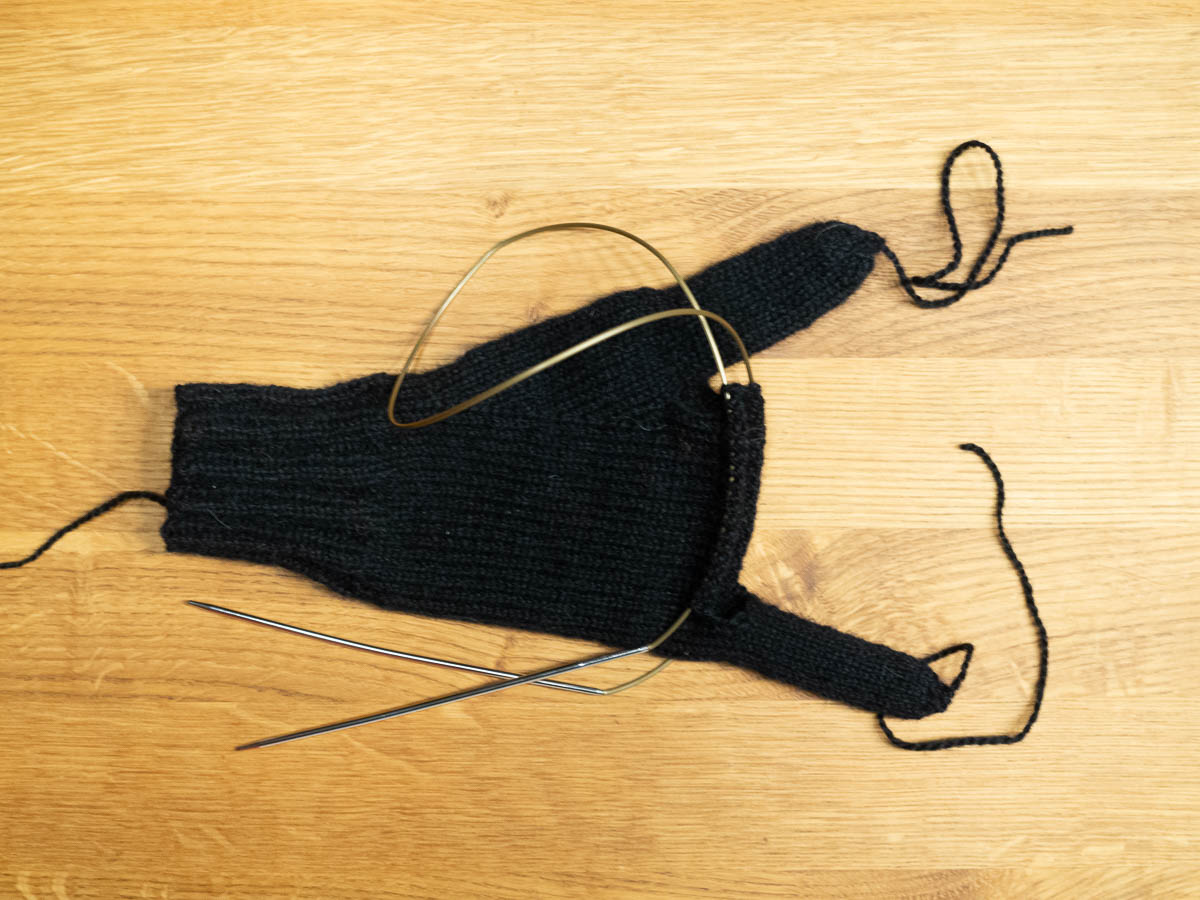
I don’t know what I was thinking. A glove is nothing like a sock! And a first glove, especially, is nothing like the 40th sock.

I can knit a sock with a standard fingering-weight sock yarn mostly without thinking. Cast on 60 stitches, knit 48 rows of ribbing for the leg, 18 rows of heel flap, etc etc. Adjust to 64/48/20 if the yarn is 420 m/hg instead of 400 m.

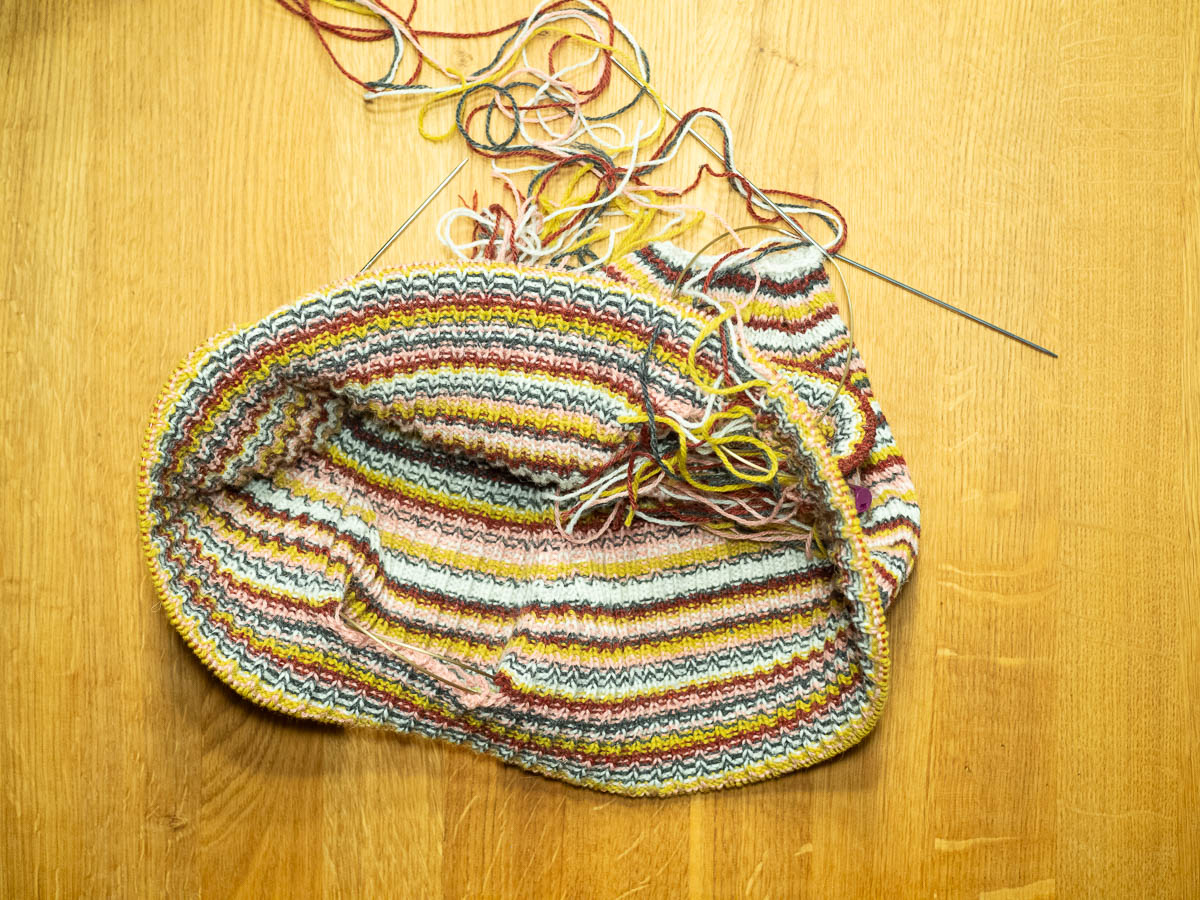
Knitting a glove, though? For the first time for this pair of hands with this particular yarn? It’s constant measuring, ripping up, picking up the stitches, re-knitting. The thumb took me two attempts, and the little finger took three. The polar opposite of mindless background knitting.

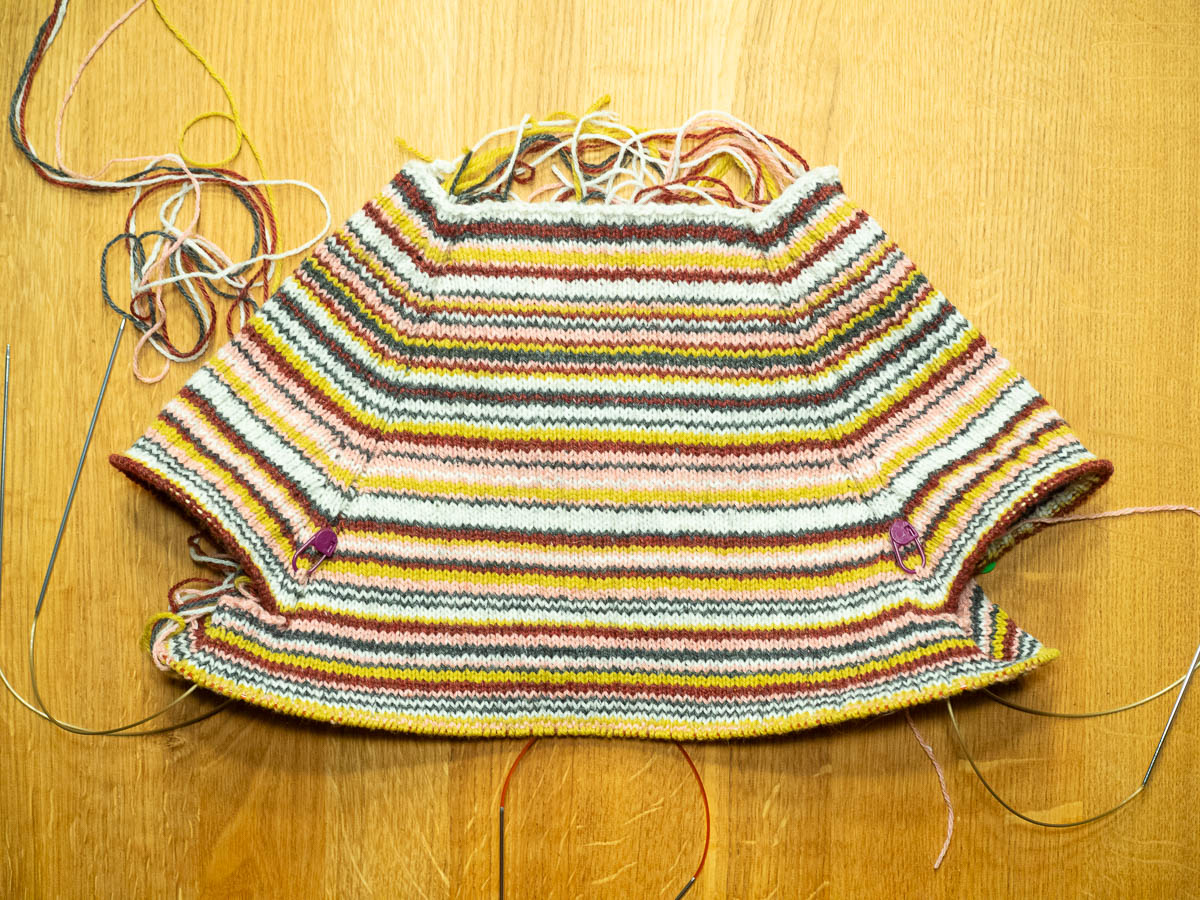
So now I have three ongoing knitting projects, and still nothing to bring with me to the office.

I’ve found myself a knitting club!

While I’ve been going to my embroidery club for close to three years now, I haven’t done anything similar with knitting – even though I knit a lot more than I embroider.

I tried a knitting café a couple of times but it was not my thing. People were sitting with those they came with, or otherwise knew, and they were not particularly interested in socializing with newcomers. I didn’t really get anything out of those sessions to be honest.

Today I went to a knitting club in Sundbyberg, to see what that was like. I’m a member of Sticka!, Sweden’s national knitting organization, and they publish a list of local clubs on their website.

I had such a wonderful time. The atmosphere was incredibly welcoming: people were helping each other, complimenting others’ work, sharing thoughts. The person in charge of the group was very focused on welcoming and including everyone. I think this may have been what was missing at the knitting café: someone to set the (right) tone.

Three hours passed in the blink of an eye. I will absolutely be going back. Maybe not on the weeks when the kids are here – I don’t want to miss so much of my time with them – but definitely on the other weeks.

I wanted my knitting for my first time there to be something simple, so that I could focus on the social side of it. Which meant bringing the dress. It’s getting bulky and sprawly, but I’ve worked out a way to roll it up and stuff it into my pillowcase-turned-project-bag such a way that I can work on it without taking all of it out. The knitting gets protection, and the balls of yarn are kept contained.

At some point I bought a set of perfect stitch markers, made of glass beads on jewellery wire. You can see them in many past photos of my knitting projects, especially in the early stages of each sweater and cardigan, where I use them to mark the increase points.

For several years I’ve been on the lookout for more of the same kind, but not found any. The shops here only sell the other kind, like little safety pins. I don’t like those; they are too hard and I feel like they get in my way all the time. They’re OK for marking rows, but not for stitches.

The obvious solution is, of course, to make my own. From some forgotten past project, I already had some tubs of cheap beads – not as nice as the glass beads on the OG markers, but they’ll do. The two missing components I needed to buy were nylon-coated jewellery wire, and crimp beads.

The process itself was quite intuitive and easy to figure out. Cut a piece of wire, thread on some beads, crimp the outer bead, crimp the inner bead, cut off the ends.

Tweezers turned out to be essential. The crimp beads are absolutely tiny. They were sold by the gram – i.e. a package contains one gram of beads – and according to the product info, that one gram has around 90 beads.

Now I have eight new stitch markers. One more batch (some other day, because now it’s close to midnight) and then I can mark all the sixteen increase points on the dress. Right now I have markers at eight points only, at the top of each wedge, and count stitches forwards and backwards from those points to figure out where the actual increases should go. That worked OK when it as just a few stitches to count – I could even eyeball the number without actual counting – but now that the increases are happening ten stitches away from the marker, it’s getting less convenient. It’ll be nicer with actual markers.

The dress is starting to look dress-shaped.

It is also starting to get quite bulky, which makes it harder to work on. That’s the price I pay for a sleek silhouette. Some knitting patterns for dresses have you knit them in two parts – top and bottom – but the dress I pictured in my head was all in one piece, and I’m sticking to that plan.

On the plus side (ha!), the number of stitches has now increased to the point where they fill the entire cable and I don’t need to use a magic loop any more.

New plan: join the two pieces with a metal buckle ring, and then use snaps to adjust their lengths.

I was not surprised at all to not find any buckle rings of a size I wanted in any of the crafts or hardware stores I tried. What are the odds that anyone would want exactly 3.5 cm rectangular buckle rings? Instead I got a roll of 2 mm galvanised steel wire and made my own.

Even the smallest DIY project requires so many tools. The household toolbox went with Eric, and I have the bare minimum. That toolbox was built up over decades and I am now replacing it bit by bit with every new DIY project, trying to not bankrupt myself in the process. I bought wire cutters just a couple of months ago (for replacing the cable of a lamp with a longer one) but I don’t have any round-nose pliers. Not going to buy them just for this, either: I just bent the wire around the rounded handle of a table knife.

2 mm steel wire turned out to be pretty hard, and difficult to bend into a small, precise shape. The result looks distinctly wonky and not particularly rectangular. Good thing the pretty ribbon will hide all its imperfections.

Lovely ribbon, pretty and sturdy. Thick and wide, which is great for comfort, but I hadn’t quite thought through how that would affect its behaviour. I want the strap to be adjustable so I can wear it either around my waist or cross-body over a shoulder. I thought I could just leave the ribbon ends quite long and tie it differently. When I tried it out with this actual ribbon, the result was bulky and visually way too much. I felt like a gift-wrapped parcel with the large bow that it made. Or maybe a flower girl. A new plan is needed. Maybe snaps?

I’m making a sweater out of (five of the) six recycled yarns. A ribbed raglan sweater in crazy stripes.

This is not the kind of thing I normally wear. There is nothing in my wardrobe even remotely like it. I have been doubting my design decisions about this thing all the way. Then again, I had strong doubts about the last crazy sweater I made, and it still ended up among my favourites.

Even if it does end up not worn much, it’s been a useful learning experience. I’m experimenting with different rates of raglan decreases for the shoulder section, which I haven’t done before. You can do all the calculating and measuring you want, but the only way to really see if the numbers work out, is to knit the thing.

It’s also been surprisingly fun to knit. For the stripes, I bought a commercial pattern (Free Spirit) to follow, because fiddling around with those did not sound like an enjoyable task. This pattern does a good job of mixing up the colours in clever ways, much better than any attempt of mine would have been. It doesn’t try to keep all five going all the time – it focuses on, say, three of them for about eight or ten rows, then swaps in one of the others, etc. It’s still an awful lot of colour changes, and the inside is a mess of yarn ends and needle ends, but there won’t be an end to weave in for every single row.

The 3×1 ribbing is a constant mental challenge. I am so used to 2×2 ribbing for sock legs that I revert to that as soon as I lose focus. I can watch or listen to something while knitting this, but it’s far from mindless knitting.

All three four of my hobby projects were blocked due to lack of tools or materials.

The white knit dress: blocked because I ran out of mohair yarn.

The multicolour sweater (which I haven’t even posted about): blocked because I need a longer 2 mm cable needle.

The loose pocket: blocked because I need ribbon for the straps.

The yet-unstarted project of making stitch markers: blocked because I need flat pliers and plastic-coated jewellery wire. I knew I had some kind of jewellery wire in one of the hobby drawers, but it turned out to be not the right kind.

I found the situation almost stressful. Today’s shopping trip solved the first three (the needles were not photogenic enough to make it into the picture) and I’ve ordered jewellery wire as well.

The ribbon was a lucky find. I wandered into a fabric shop that I’ve only been to once before, and they had random spools of vintage ribbons on a shelf. This feels much nicer than the shiny polyester stuff that is mostly produced these days.

With the Rudebrant embroidery no longer at the front of the queue, I went back to my paused project of embellishing the brown cardigan. There were some conflicts of interest when I brought it out this morning, but Nysse agreed to be shuffled to the end that was already finished, so I could work on the incomplete parts.

The cardigan now has a simple design of red and green circles in a broad belt around the waist.

The embroidery isn’t there for adornment so much as it is for distraction and catching the eye – pulling attention away from the width of the hips, distracting from the awkward length, focusing on the waist instead. And it does a bang-up job of that. It’s amazing what a different immediate impression the cardigan leaves now. The value for effort ratio is awesome. I wish I had taken before and after photos of me wearing it.

Embroidering on very stretchy knitted fabric was a fun challenge. You can of course use a piece of stabilizer and then embroider on that as if the knit wasn’t a knit – like any industrial embroidered design on a t-shirt, for example. That’s what most sources seem to advise. I had no interest in smothering the fabric and pretending this isn’t a knit, especially with such a large design. I wanted stitching that would seem as if it belonged there.

The yarn is wool yarn in roughly the same weight that I used for the knitting. Stem stitch helped make it reasonably stretchy. I stitched in and between the knit stitches, making sure to not split the yarn, to further make the embroidery feel like a natural part of the cardigan.

I spent a fair amount of effort fastening the ends – I hope this holds up in washing.

The Rudebrant-inspired piece of embroidery is done. It came out roughly like I had imagined it. But I can also picture other ways I could have made it, and now I’m thinking of making another version of the same design.

It felt freeing to make something low-stakes like this. It won’t be framed and hung on a wall; it is not “for” anything. The only reason it exists is that I enjoyed making it.