More photos of the results of this weekend’s textile printing workshop. I want to remember what we did and note down some of the key things I learned, so I can do more of this in the future.
The traditional way of making patterns on fabric, in my head at least, is that you first put paint on an object of some sort, such as a stamp, or a leaf, or whatever, and then press that object to the fabric. We did a little bit of that, but I didn’t find the results too exciting. It’s very intentional, and you tend to end up with very regular patterns. You don’t have to, of course, but these designs tend in that direction. The regularity and repetition of it makes my brain itch and I just want to mess it all up and make it more random and unpredictable.
Here’s my one and only stamp print from the workshop. It was the day’s warm-up exercise, on scrap fabric from the workshop leader, and I knew right then and there that I wouldn’t be doing any more of that.
Learning #1: instead of putting objects ON the fabric, put them UNDER the fabric, and then run a roller over the fabric. The stuff under the fabric presses it up against the roller, so the fabric gets paint where there was stuff, and little to no paint where there wasn’t. And you can do this with just about anything.
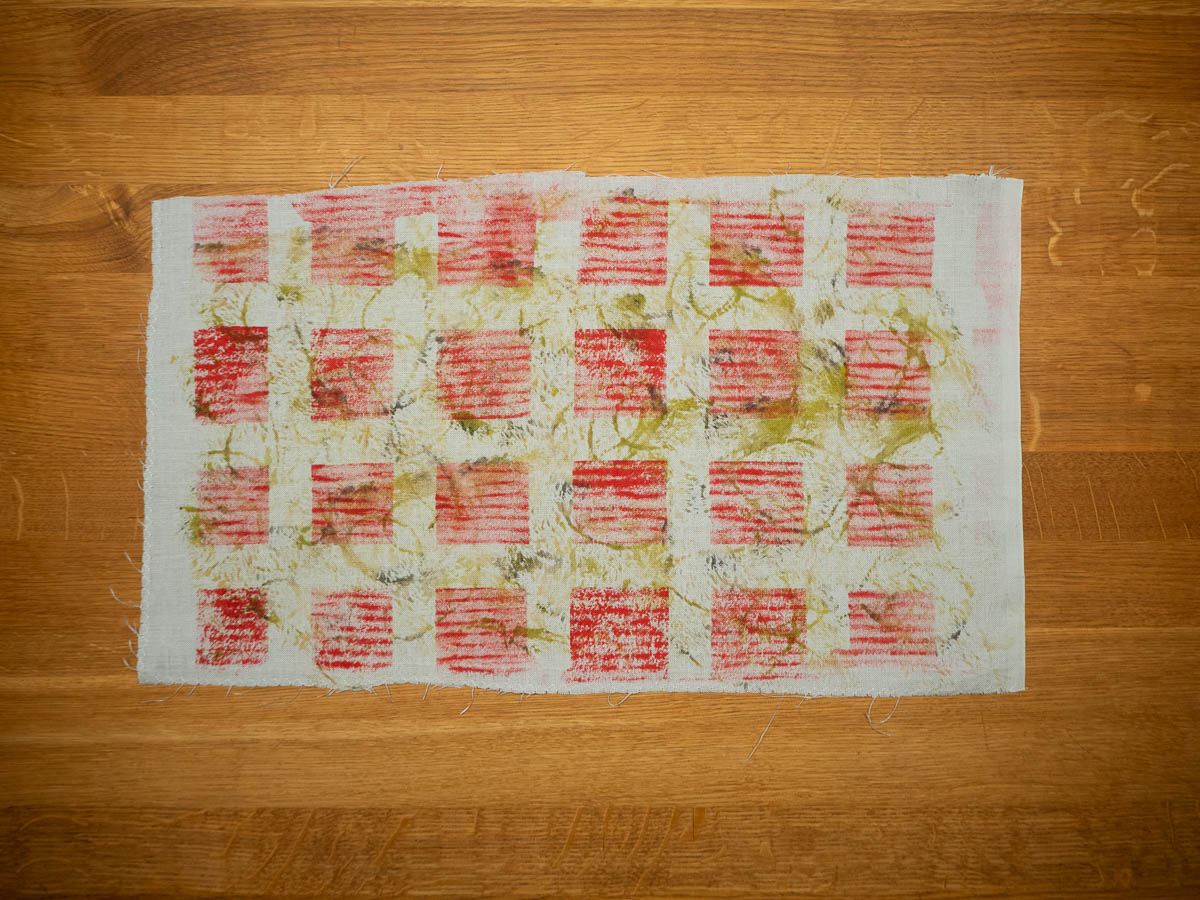
Corrugated cardboard:
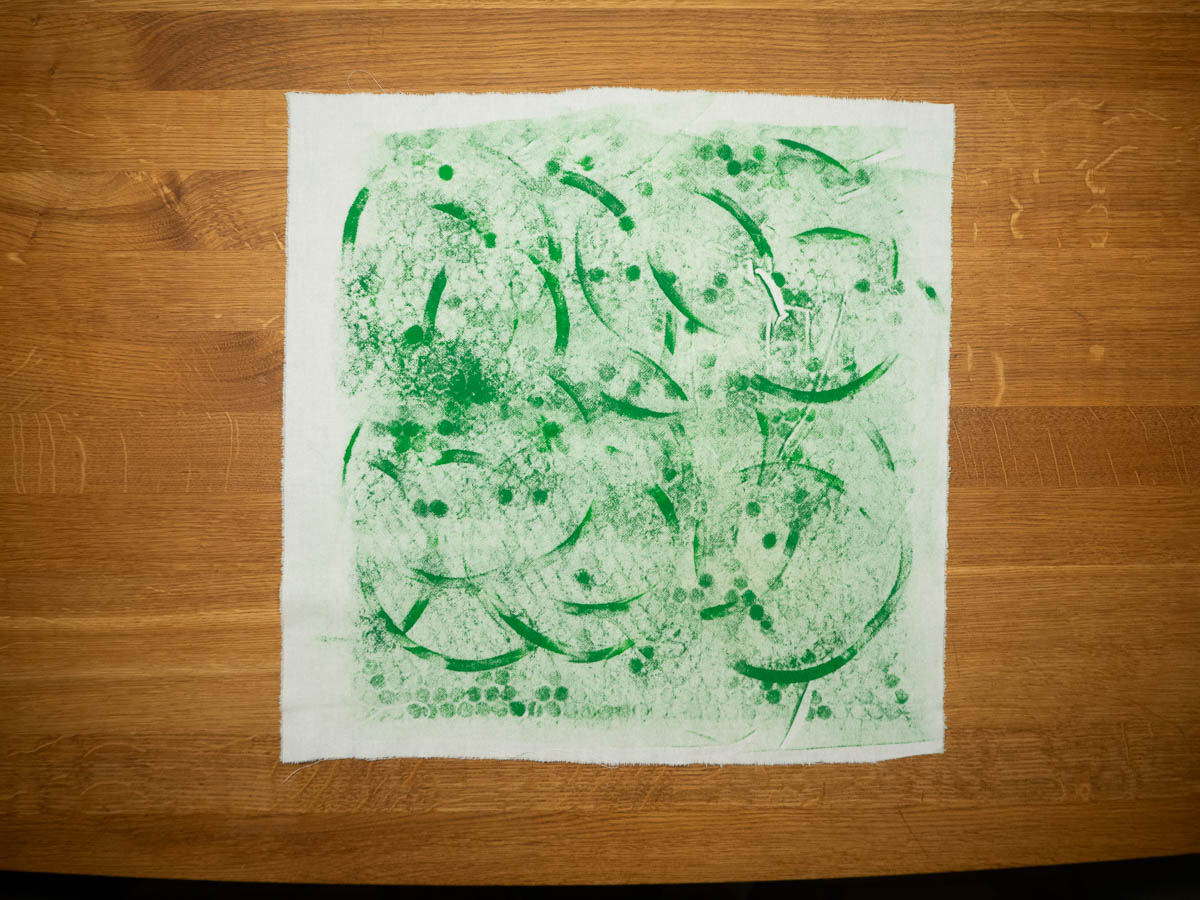
Old crochet doilies:
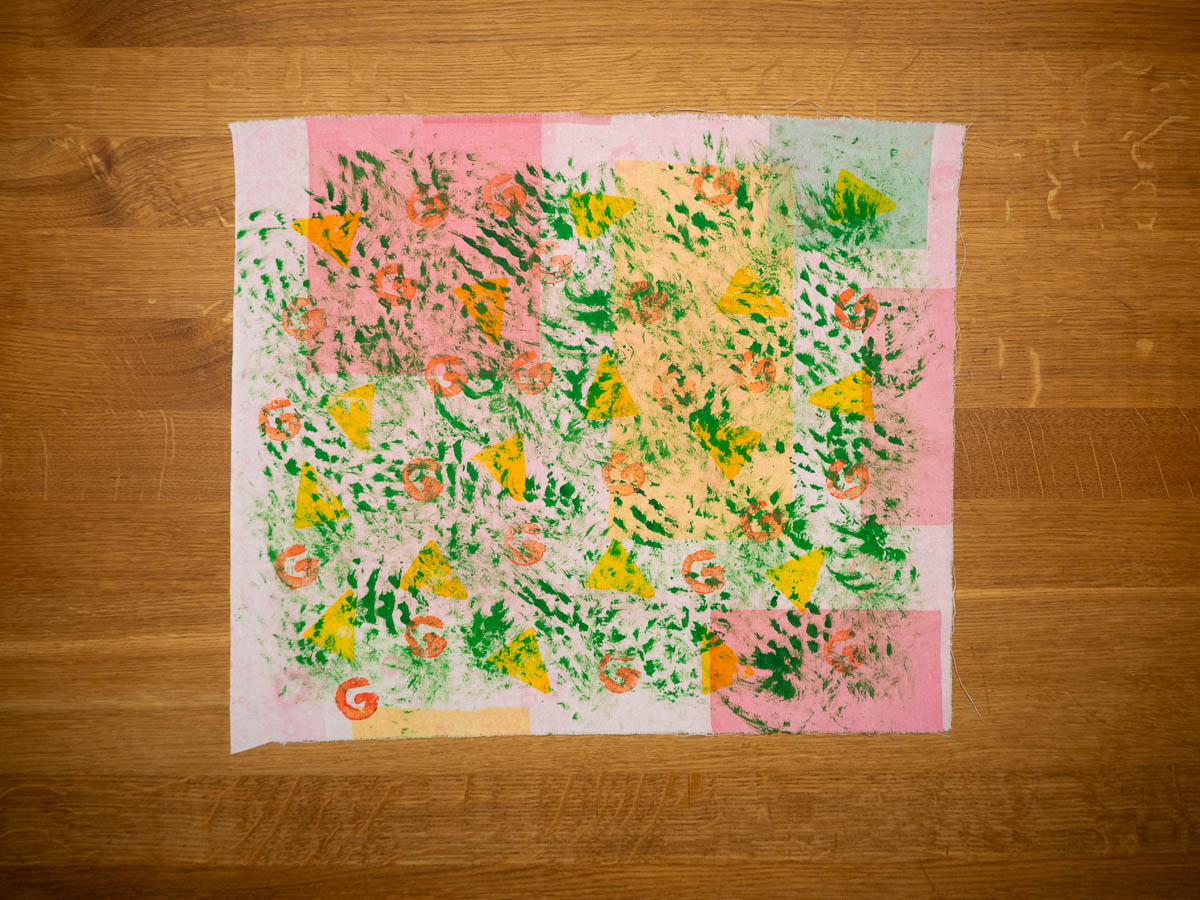
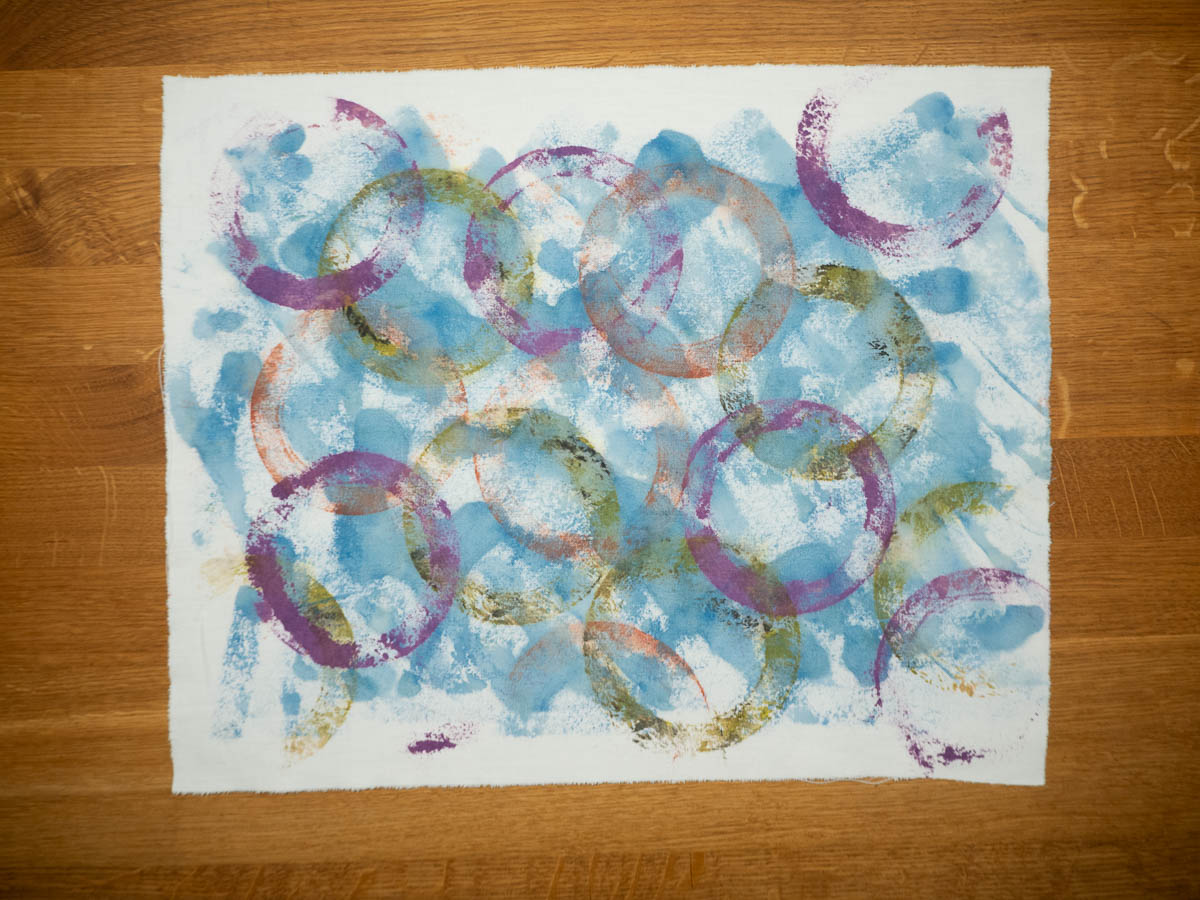
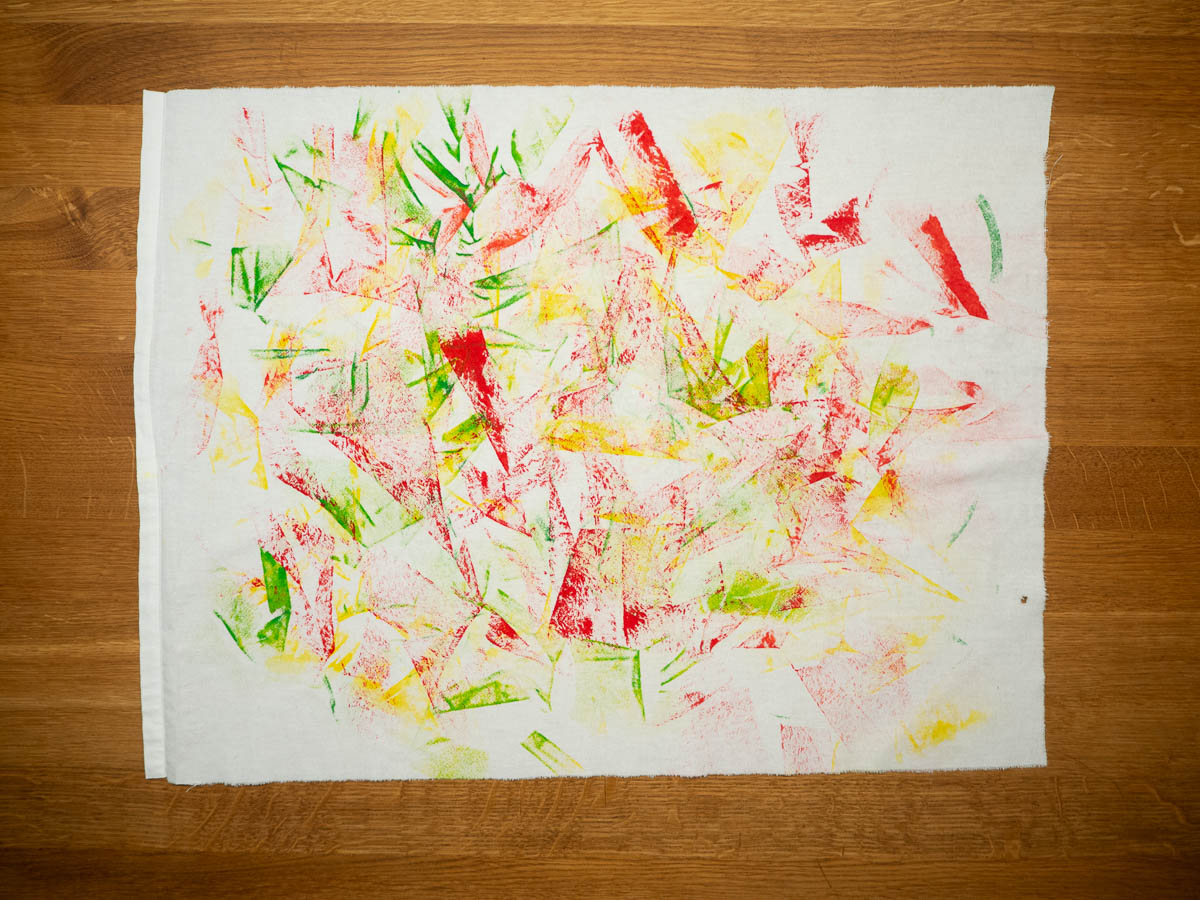
You can combine them, with different colours for different objects. You can move the objects around, so a tiny piece can make prints on the whole fabric. You can roll over just a part of the stuff, or roll at an angle.
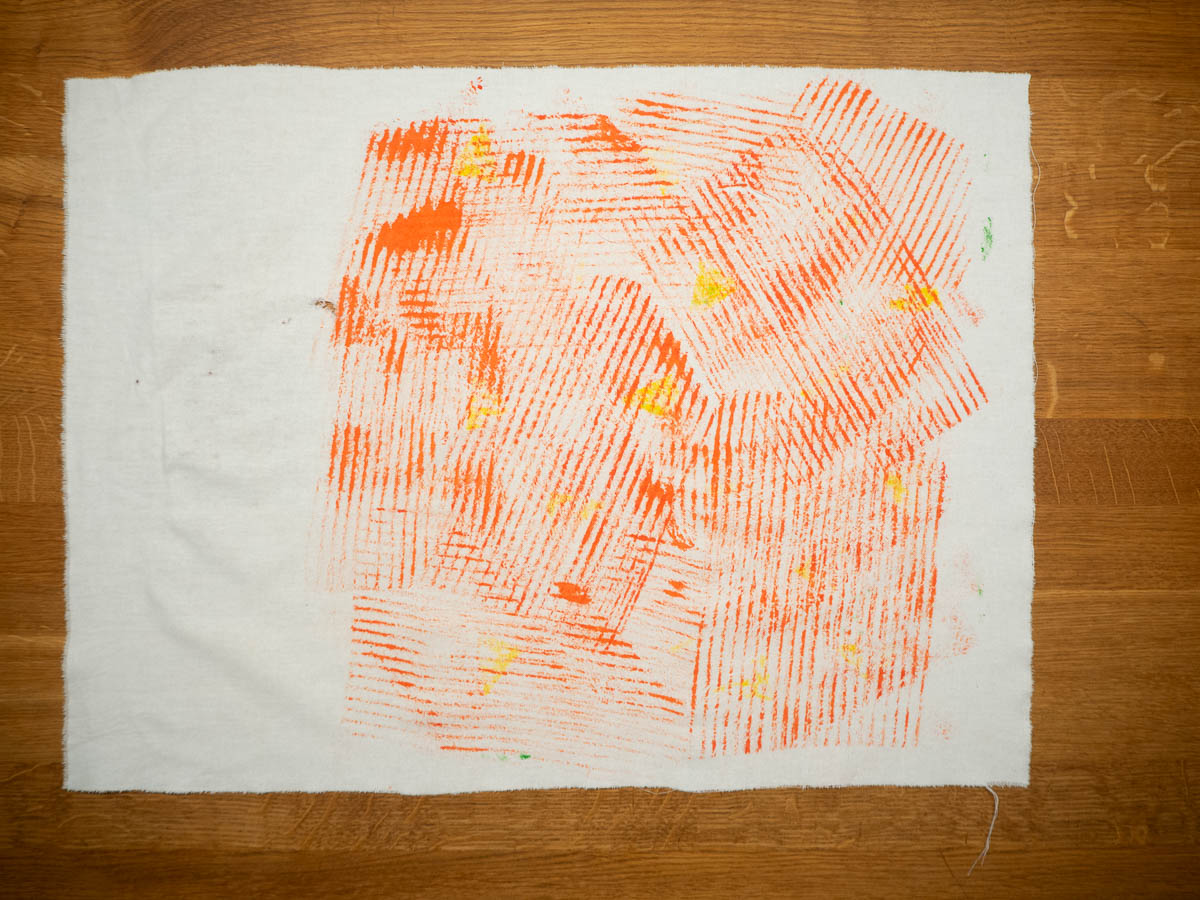
Bubble wrap and a roll of masking tape:
Jumbled-up strips of bedsheet hems:

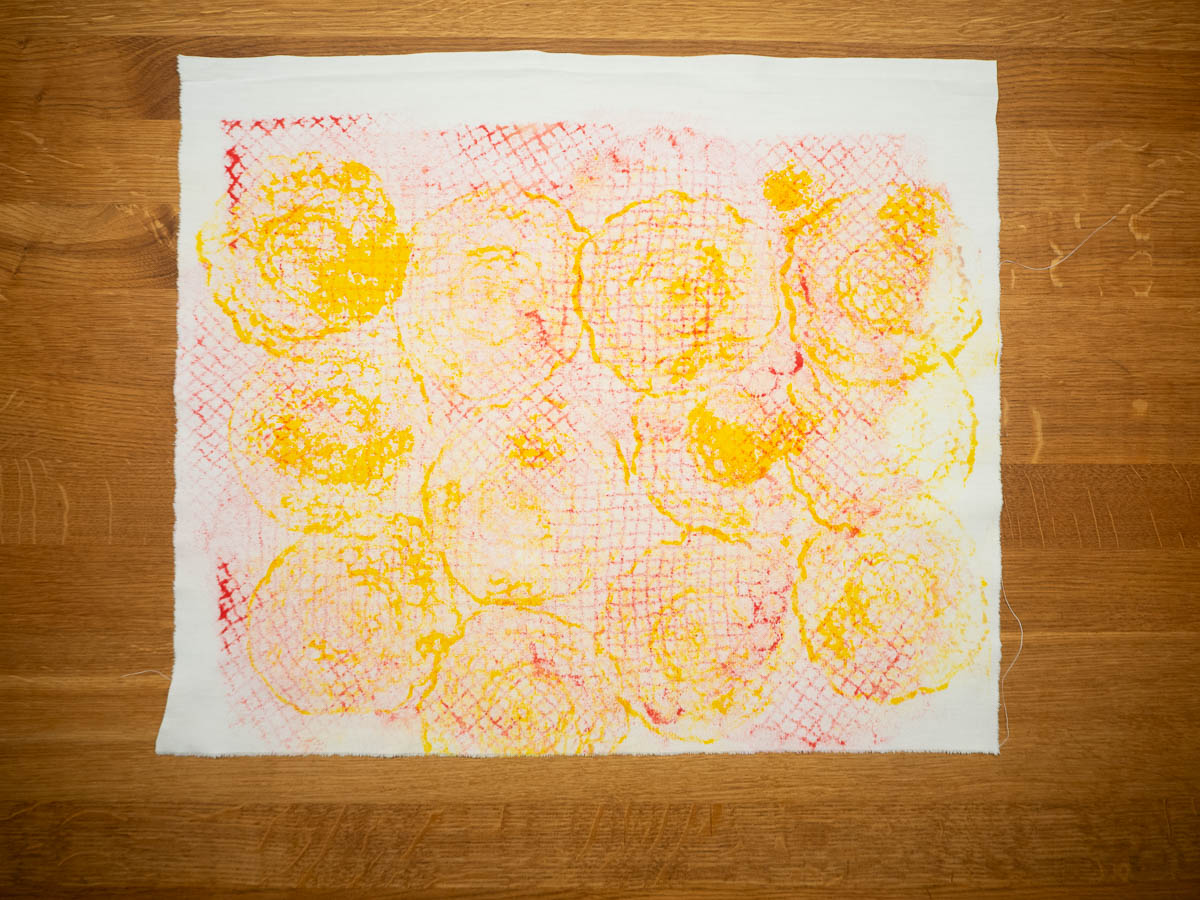
Roll of masking tape and jumbled-up strips of bedsheet hems combined:
You can mask off parts of the fabric so those don’t get paint (corrugated cardboard and a bundle of string):
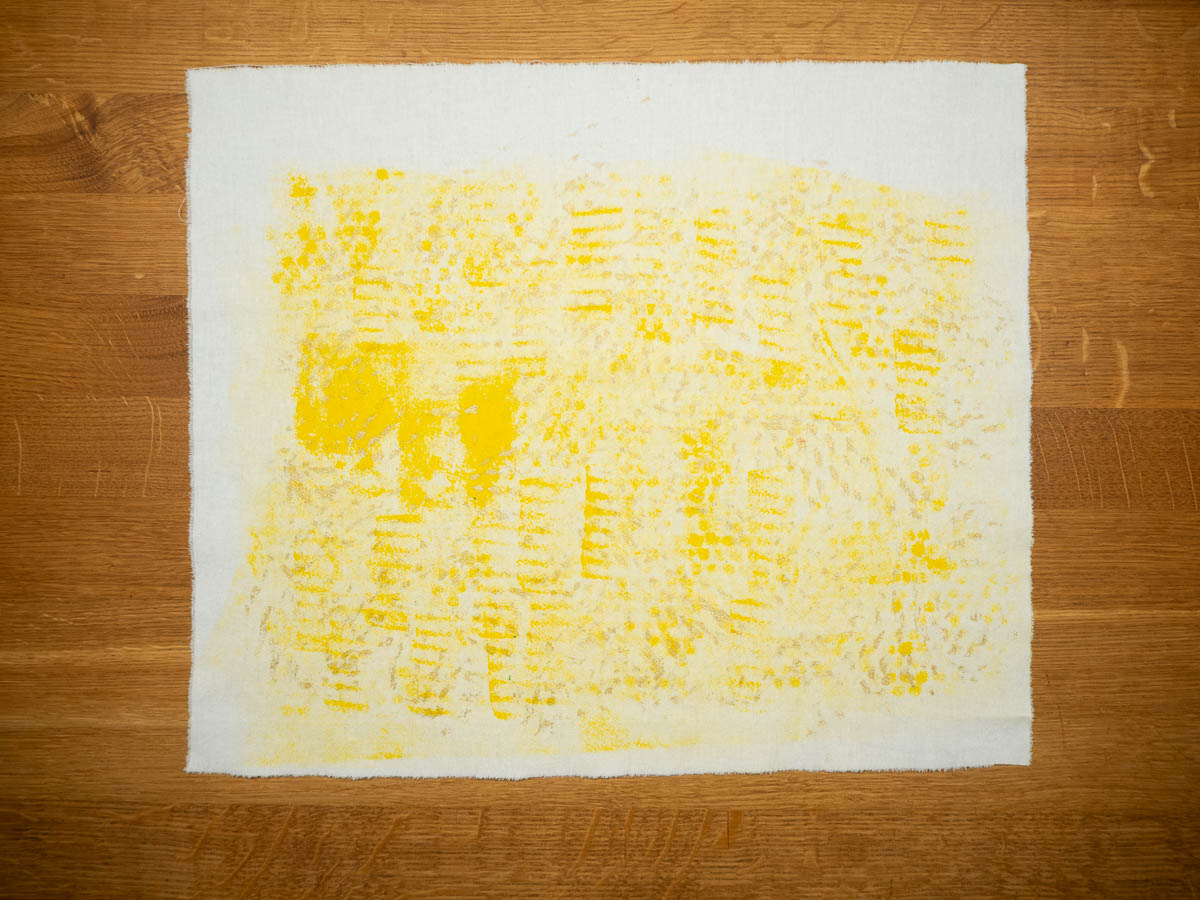
You can dilute the paint to make it wet and runny (roll of masking tape again):
Learning #2: you can mask off parts of the fabric with all kinds of things, not just masking tape and tidy stencils.
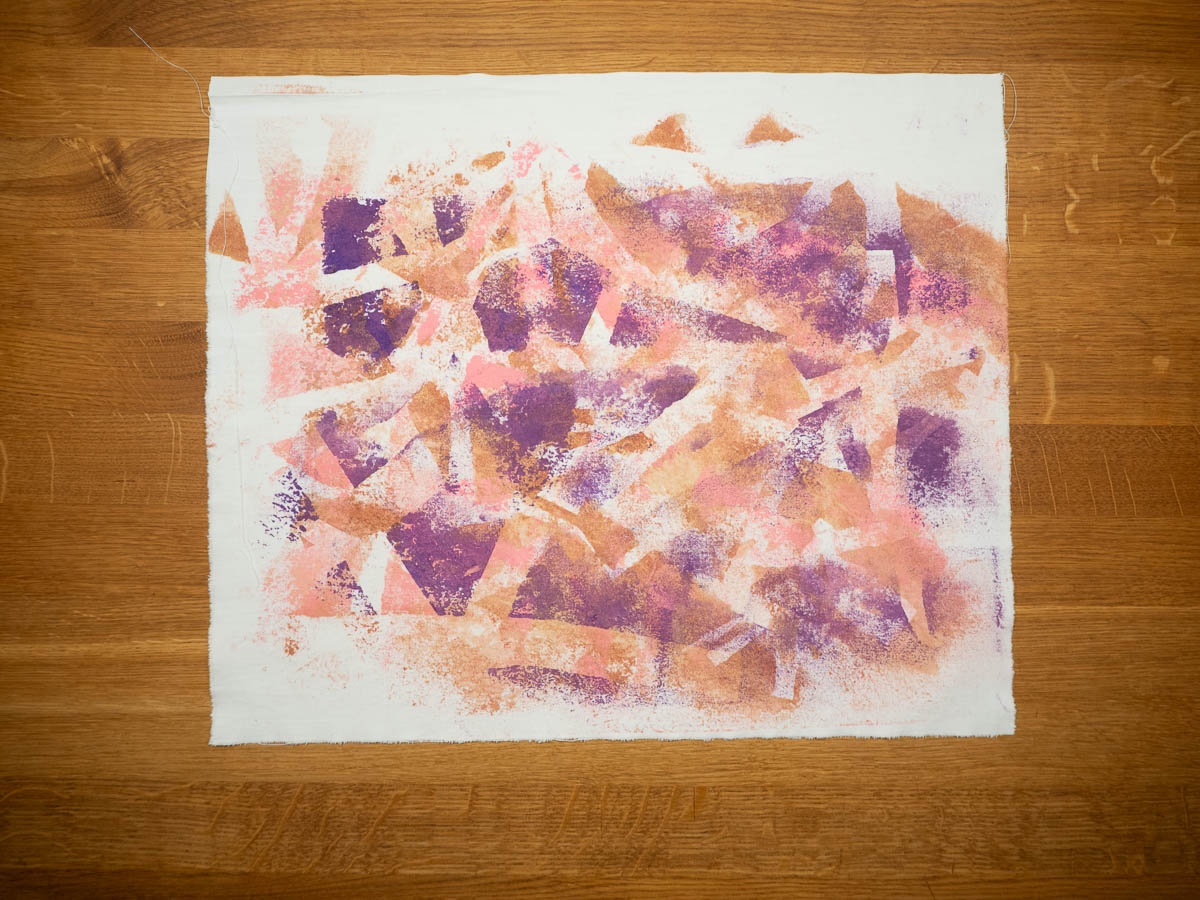
For example, a random jumble of paper strips:
Or just wrinkles and folds in the fabric itself – bunch it up and run a roller over it:
Learning #3: use non-traditional things to apply paint.
A dish brush:
A paint mixing chopstick (for the red – and I can’t even remember what I used for everything else, although it looks like corrugated cardboard was involved for the green):
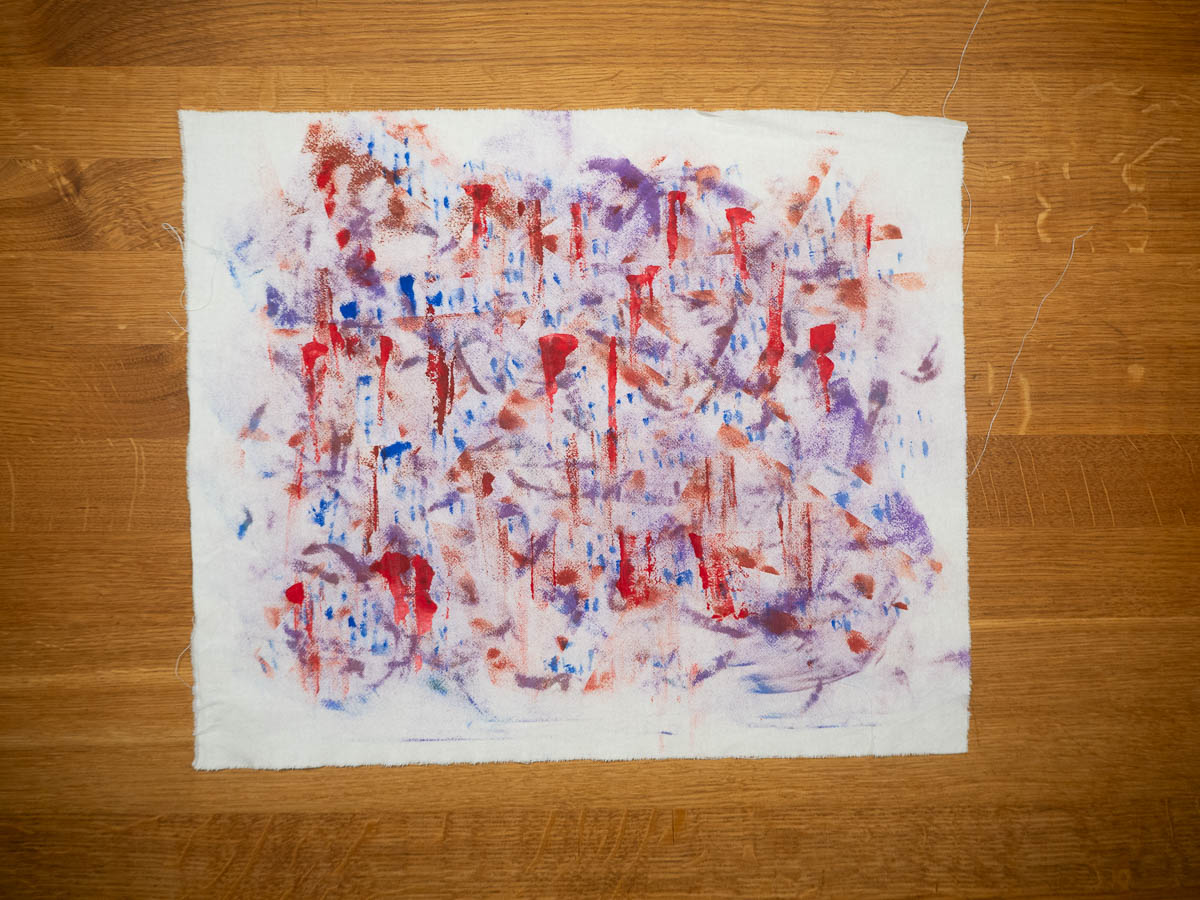
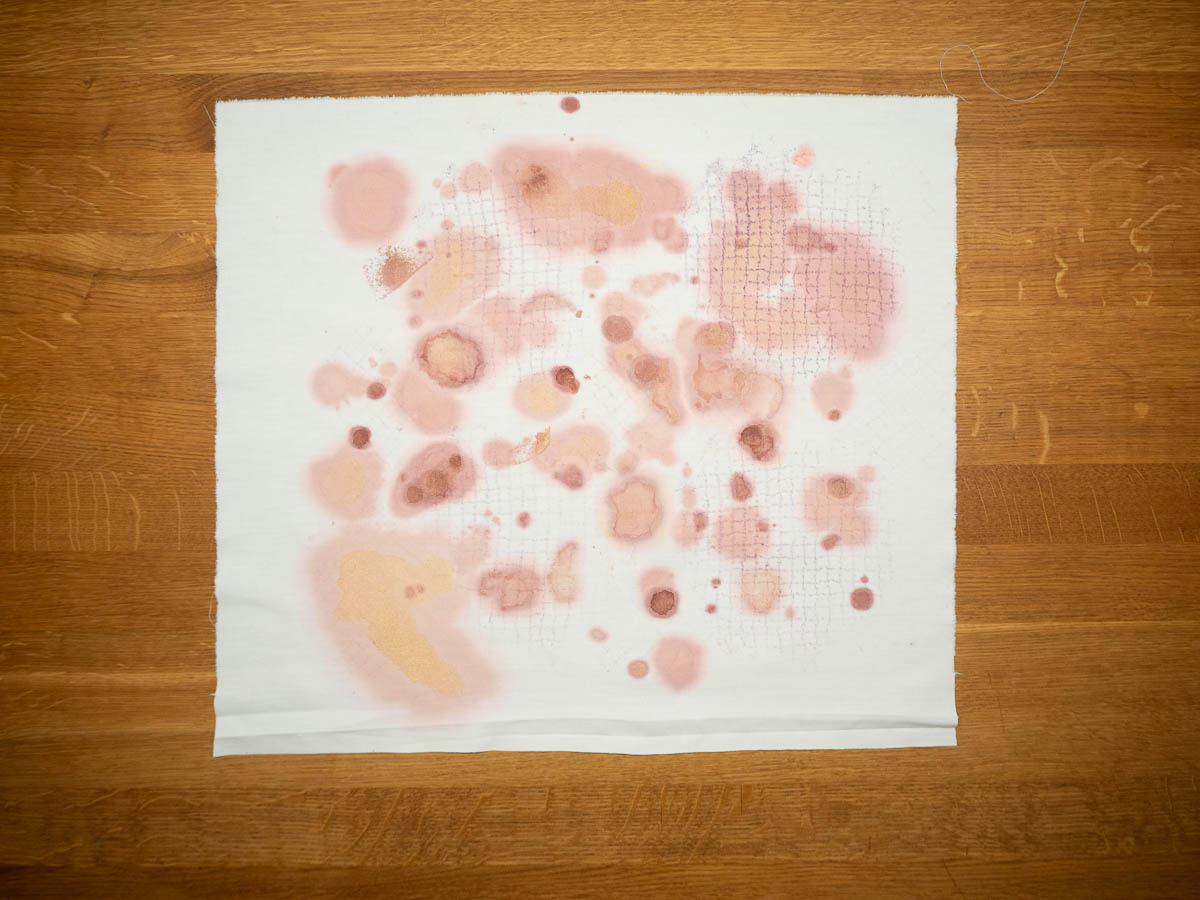
Learning #4: put another layer of fabric underneath the one you’re actively working on, for subtle patterns and serendipitous leakage.
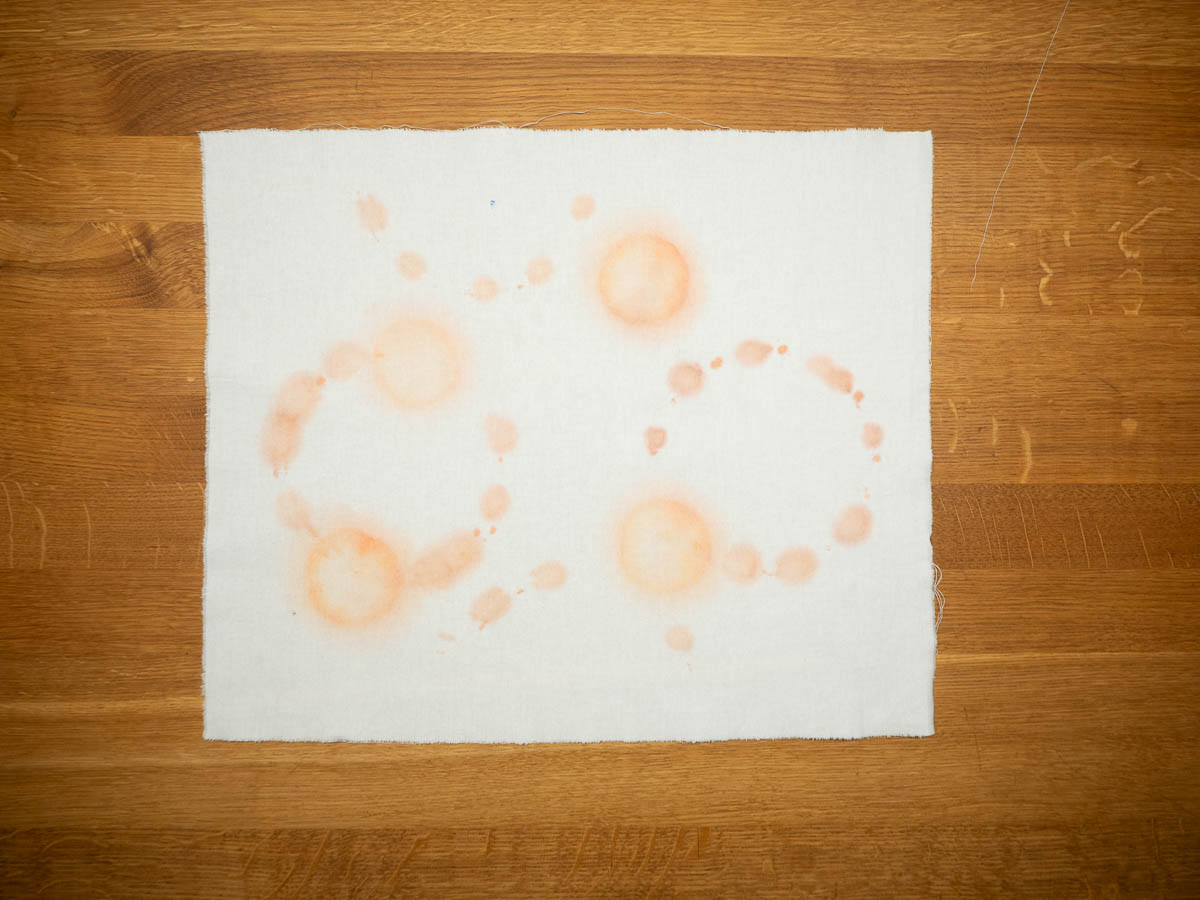
Learning #5: any time you’re reaching for paper towels to wipe something off, use a fabric scrap instead. Have paint left over on the roller? Sloppily roll it onto a piece of fabric. Have a wet roller? Dry it with yet more fabric.
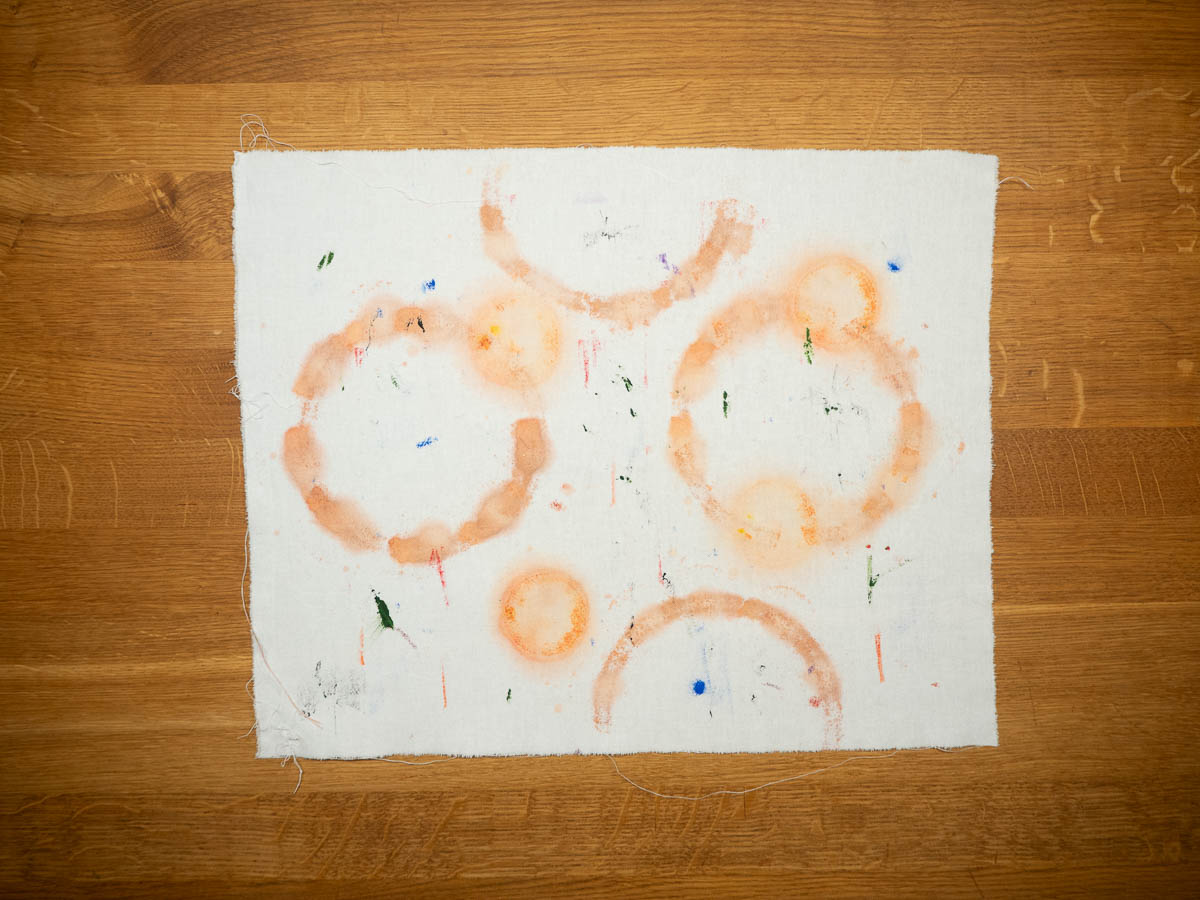
A paint-covered doily left accidental prints on an underlayer of fabric. I then used it to dry a wet, mostly rinsed-off roller, and got lovely watercolour effects.
Learning #6: go with the flow. There are no free rollers for the green you had in mind, but someone has made a purple and blue mixture? Sure, why not. Someone spilled water in the paint so it’s too wet for rolling? Use a sponge to drip it on the fabric instead. The red roller got used for black by accident? Interesting colour combinations will arise.
Leave a comment